


 Sunday, May 06, 2012
 Unknown

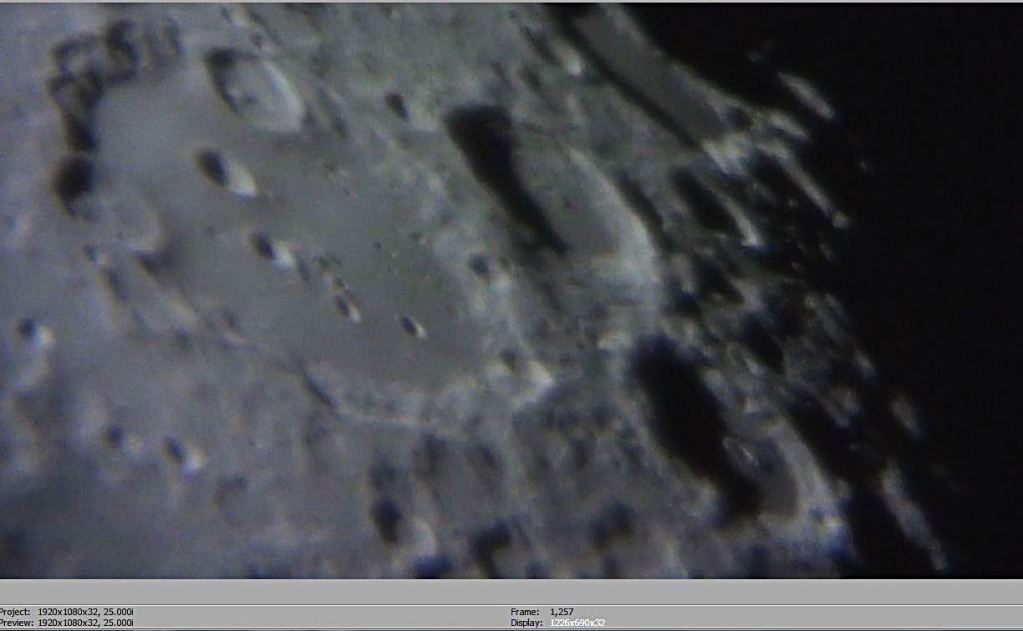
Videos of the planets are in the forefront in the processing programs. The videos with Moon craters are burned on the DVDs, and I put a dot with a marker, and get back to them later.
The first thing I do after I made a video through the telescope, is to open it in Splash Player (Figure 1), which has the option to capture the image that I stop with the pause button. If I pause I can stop at a clear and convenient image for editing, then click 'capture', button to save the image in 'bmp' (bitmap) format. You can imagine how many times I press that button on the video.
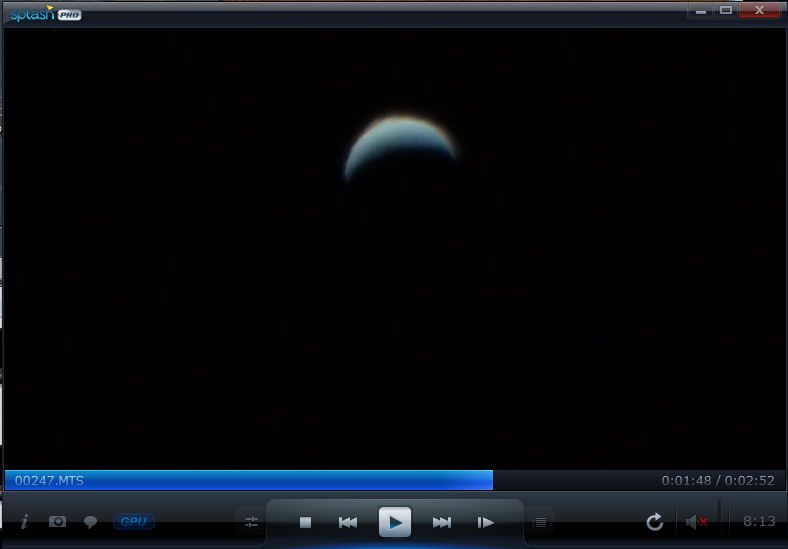
Figure1: Splash Player
Video capture is automatically saved in folder 'My pictures' of the disk 'C'.
After I capture everything that I can, I go into that folder, and open the pictures in 'FastStone Image Viewer'. This is a photo editing program and I chose because it is simple to use (Figure 2).
I begin to run pictures and remove those that are not clear, in comparison with others, to remain only those that can be worked.

Figure 2: FastStone
How I work in Sony Vegas clips.
In the same time with the playing in Splash Player, I insert the same video in Sony Vegas (Figure 3). I work like an octopus with many arms. Not just because I want to finish quickly, but that while the video is playing in Splash player, I know where to cut the video footage in Sony Vegas much easier, being able to go to exact minutes and seconds where the video should be process, mainly to stabilize that sequence.
The window 'Video Preview', I select the best quality from the top button, "Preview (Best)-Full '(in Figure 3b is selected' Preview (Auto) ').
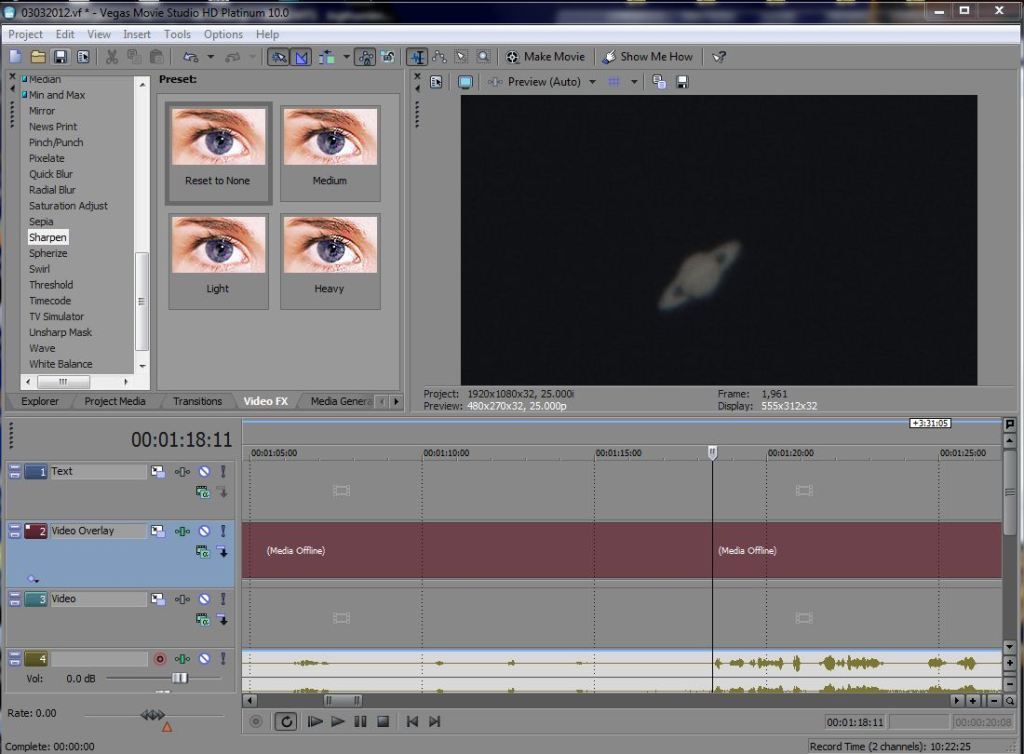
Figure 3: Sony Vegas
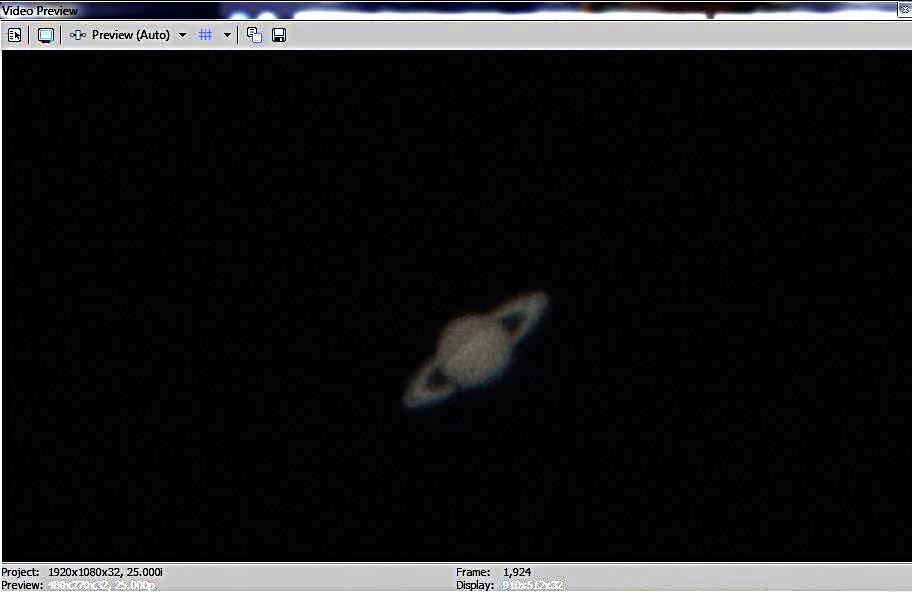
Figure 3a: 'Video preview' window
A. Image stabilization in Sony Vegas. Step 1. Insert video in Sony Vegas.
Step 2. I go to the minute and second that interests me, where the image is more stable and cut the clip. I let the video to play mode in Splash Player, and wait until the image becomes very unstable. I remember that minute and second, and go to Sony Vegas and cut the video again. Thus, I created a section of a video to be worked. Right click on that piece of the clip, and select 'stabilizing media' (Figure 4). It may take some time before this process is completed. Depends how big is that portion of the clip.
The result will be a stable image, without the slightest trepidation, but the object will be closer. These small clips will be processed later in Registax program. The images are stabilized because of this.

Figure 4: Stabilization in Sony Vegas
B. Adjusting the contrasts.
I do so with all sections of the video that worth being stabilized, and then begin to work on contrast and sharpness levels. I get into Sony Vegas on the option 'Video FX' where I have a lot of video editing options on the left bar (Figure 3). The first edits I apply, are 'color curves' and 'Sharpness', of which i raise and lower the brightness, contrast, and sharpen the picture to become clearer.
C. Video rendering.
After applying appropriate contrasts to the clips, I gather all of them together and go the last step to create the whole video.
 Posted in: How to,How to work astrophotography


0 comments:
Post a Comment