Visit Worldwide Topsites
Showing posts with label How to. Show all posts

Wednesday, 10 July 2013

Observing the Moon by a telescope. How to .

To film or photograph the Moon, there is no need to travel out of town to get away from light pollution. Indeed, in deep-sky astrophotography this is mandatory because using long exposures and you would not like the bottom of the picture (or all image), to have yellow spots or other colors of city lights that reduce sharpness drastically.

In general, for filming / photographing the moon, you need a clear atmosphere without turbulence from buildings temperature (in winter when people use thermal heat), because the Moon is bright and big, on which you are not using long exposures.

The first thing you do after installing the telescope and a camcorder / camera, is to find the Moon, which is not difficult, if you have a finder scope on the tube of the telescope (and most of them have one), to guide you in approximation toward it. Once you find it, you rub your hands, and open the camera. But it's blurry! You'll want to become clear on the display, and get your hands on focus, and rotate until the image becomes clear, then start surfing over various areas of the Moon to find an interesting region to film / photograph.

Images from the terminal, I have always felt are most special and more interesting compared to other moments of light, when craters are seen as normal, without any buzz.

-When the sun is at a low angle, lunar landscape becomes more realistic in most cases regardless of the region seen as the shadows of the mountains, craters, their central peaks and other forms of relief, to plan around them, thus obtaining more information in much greater quantity, of the area.

- When the Sun shines from a high angle, all is bright,without shadows of the relief, to give more life to the landscape.

Earth's Moon is "changing", not geological, but through light and shadow. Due to the phases of the Moon, we enjoy a unique show every evening, moonscape always having another look for those who have an astronomical telescope, large or small.

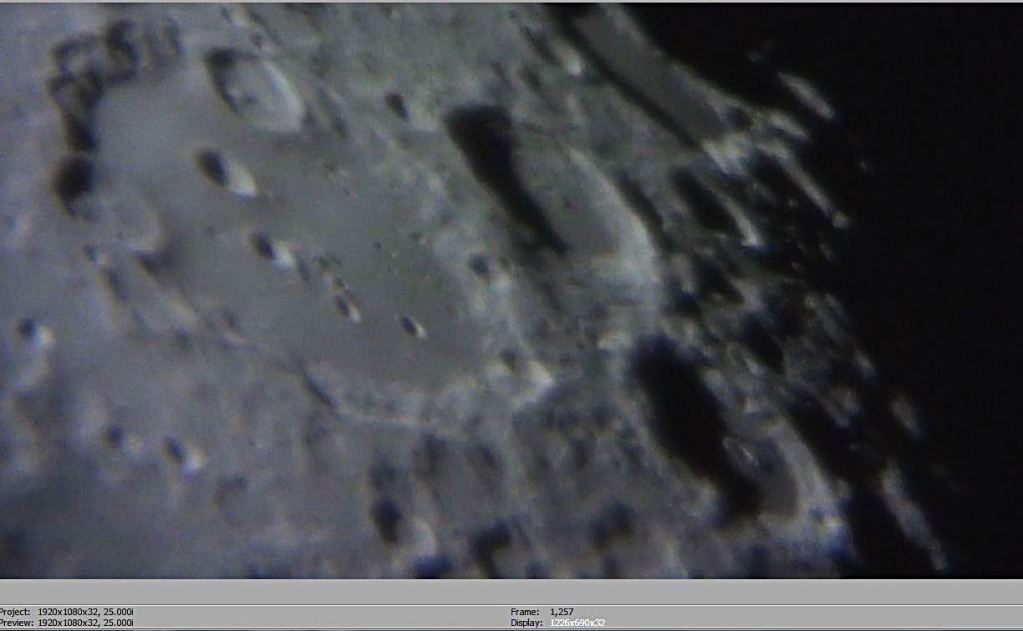
I have filmed some parts of the Moon repeatedly, but always I have noticed something new in it. I captured the moment when a crater was almost completely in shadow, times when it was in full sunlight, but also moments when the sun beats from various other angles.

Another factor that slightly changes the face of the Moon: often, the craters have "modified" a little in shape as seen from Earth, because the Moon libration because it does not stay fixed facing us, but has a periodic motion of inclination, like you see a child in the cradle.


Video by Lupu Victor
Optics: CelestronC8 "-Newtonian telescope, plossl20mm, 2x Barlow
Mount: CG5 (EQ5) motorized
Device: Sony CX-130
Video mode: Full HD progressive 1920x1080
Filter: no
Date: 31/08/2012
Location: Baia Mare, Romania
Processing and editing: Sony Vegas 10

Sunday, 18 November 2012

How to ... Astronomy


This section concerns a variety of topics about how to do more things that can help you practice astronomy.
Existing categories of "How to ..." will have more and more topics when I will write what I'm doing, with or without my telescope.


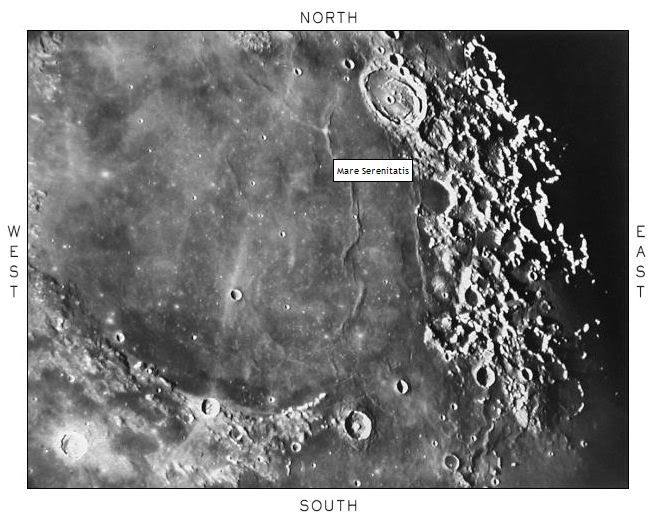
-How to know names of Moon craters
-How to maintain Newtonian telescope's mirror
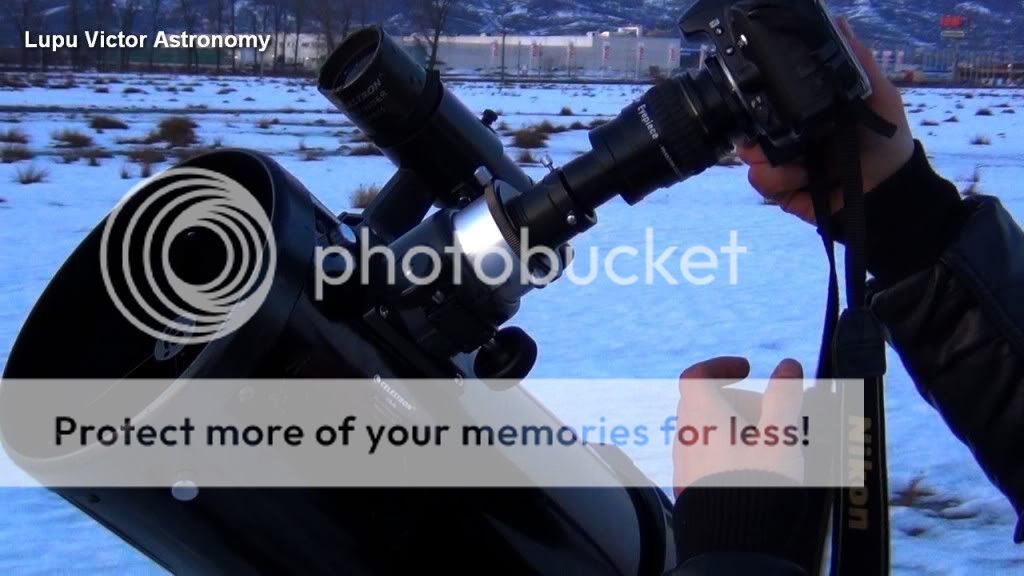
-How to mount DSLR to the telescope
-How to take pictures of the Moon
-How to work astrophotography
-My way of editing Moon photos
-Which camera is good for astrophotography?

Sunday, 6 May 2012

My work in Astrophotography: Sony Vegas and Splash player


     Videos of the planets are in the forefront in the processing programs. The videos with Moon craters are burned on the DVDsand I put a dot with a marker, and get back to them later.

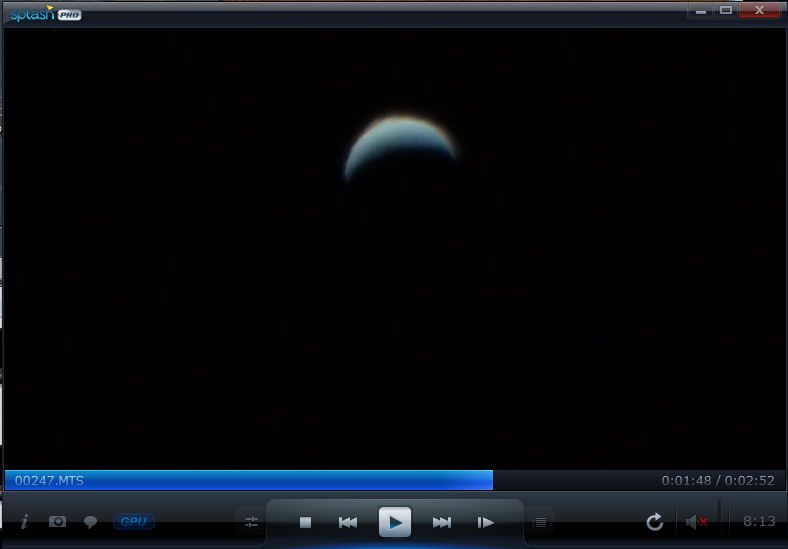
     The first thing I do after I made a video through the telescope, is to open it in Splash Player (Figure 1), which has the option to capture the image that I stop with the pause button. If I pause I can stop at a clear and convenient image for editing, then click 'capture', button to save the image in 'bmp' (bitmap)  format. You can imagine how many times I press that button on the video.

Figure1: Splash Player

Video capture is automatically saved in folder 'My pictures' of the disk 'C'.


After I capture everything that I can, I go into that folder, and open the pictures in 'FastStone Image Viewer'. This is a photo editing program and I chose because it is simple to use (Figure 2).
I begin to run pictures and remove those that are not clear, in comparison with others, to remain only those that can be worked.
Figure 2: FastStone


How I work in Sony Vegas clips.

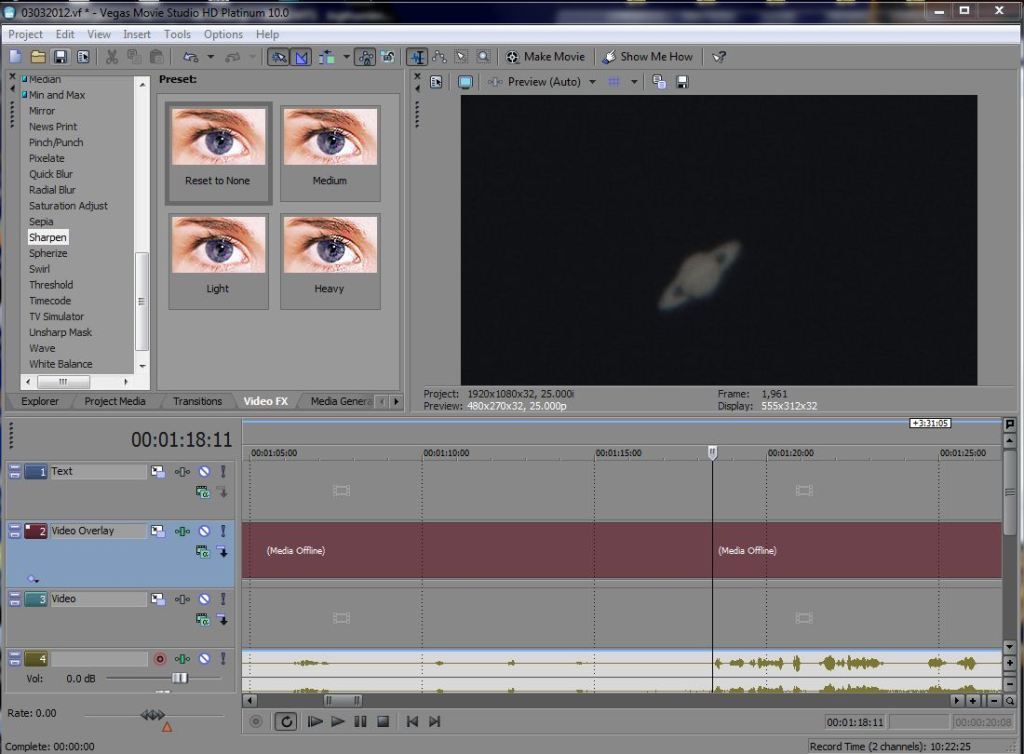
In the same time with the playing in Splash Player, I insert the same video in Sony Vegas (Figure 3). I work like an octopus with many arms. Not just because I want to finish quickly, but that while the video is playing in Splash player, I know where to cut the video footage in Sony Vegas much easier, being able to go to exact minutes and seconds where the video should  be process, mainly to stabilize that sequence.
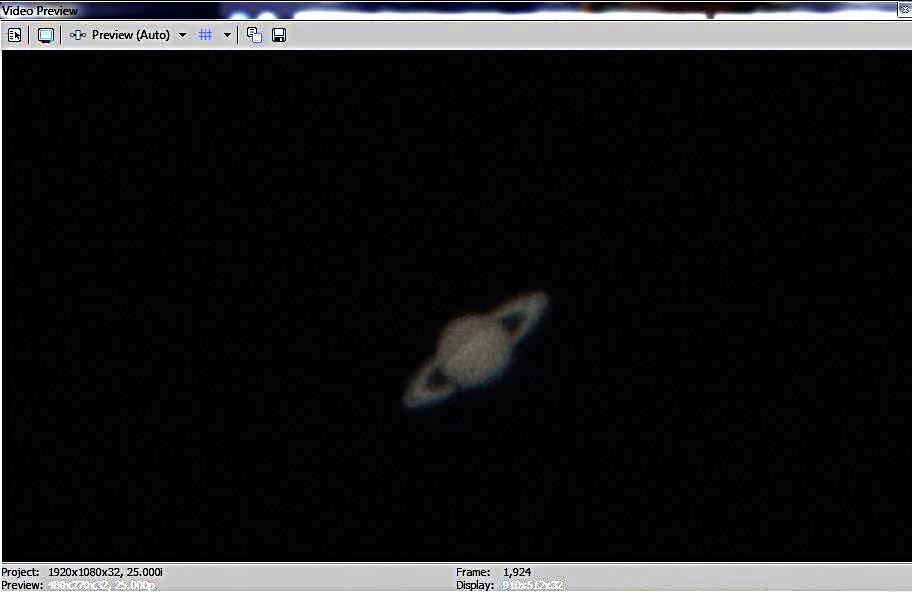
The window 'Video Preview', I select the best quality from the top button, "Preview (Best)-Full '(in Figure 3b is selected' Preview (Auto) ').


Figure 3: Sony Vegas


Figure 3a:  'Video preview' window


A. Image stabilization in Sony Vegas. Step 1. Insert video in Sony Vegas.


Step 2. I go to the minute and second that interests me, where the image is more stable and cut the clipI let the video to play mode in Splash Player, and wait until the image becomes very unstable. I remember that minute and second, and go to Sony Vegas and cut the video again. Thus, I created a section of a video to be worked. Right click on that piece of the clip, and select 'stabilizing media' (Figure 4). It may take some time before this process is completed. Depends how big is that portion of the clip.
The result will be a stable image, without the slightest trepidation, but the object will be closer. These small clips will be processed later in Registax program. The images are stabilized because of this.
Figure 4: Stabilization in Sony Vegas


B. Adjusting the contrasts.

 I do so with all sections of the video that worth being stabilized, and then begin to work on contrast and sharpness levels. I get into Sony Vegas on the option 'Video FX' where I have a lot of video editing options on the left bar (Figure 3). The first edits I apply, are 'color curves' and 'Sharpness', of which i raise and lower the brightness, contrast, and sharpen the picture to become clearer.

C. Video rendering.
After applying appropriate contrasts to the clips, I gather all of them together and go the last step to create the whole video.

Wednesday, 4 April 2012

How to mount a Nikon DSLR on a telescope with an adapter T2 ring

If you attach a Nikon digital SLR to a telescope, you will take pictures to objects at a great distance, like the moon, planets and stars. Long exposure can bring out many more details than is seen with the naked eye, making objects in bright colors. With a DSLR you can capture stunning images of the universe.
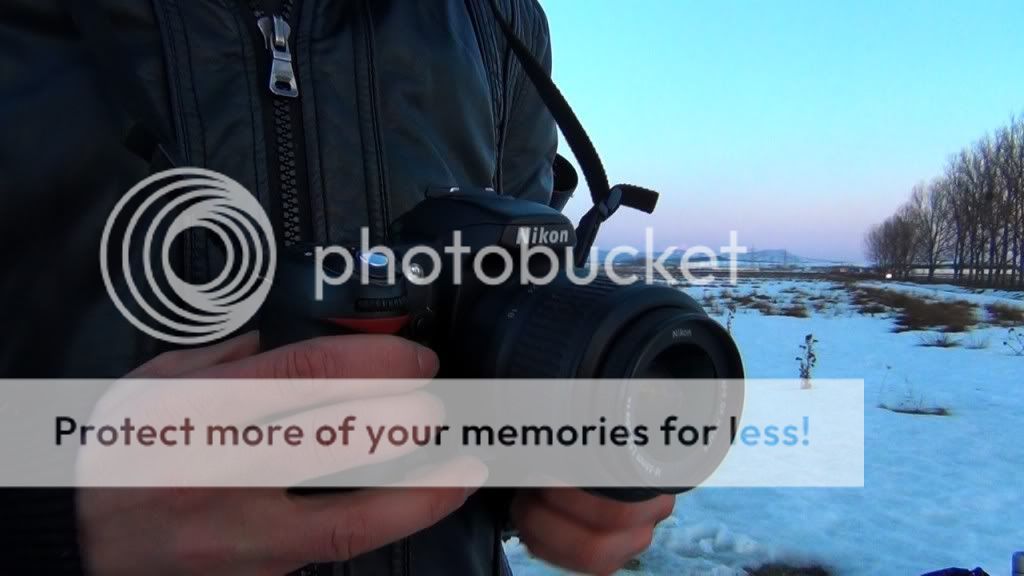
 My device is Nikon D80. This allows long exposures of up to 30 seconds only, but in bulb option, which works only with a remote control, can be set it at longer exposures, but the mount of the telescope must have a tracking motor.

Baader Hyperion T-adapters allow direct coupling of any T threaded camera or accessory to the Baader Hyperion eyepieces.

Hyperion-T adapter that I have and it's in this article, is HTA43/T-2, which attaches to the M43 thread of Hyperion eyepiece with a fixed focal length. The eyepiece's thread of 43 mm is located under the protective rubber.
These adapters allow Hyperion eyepieces to be used for CCD and DSLR cameras. With this adapter, any T-2 extension tubes can be used between the eyepiece and the camera to project and zoom in as much as you want.


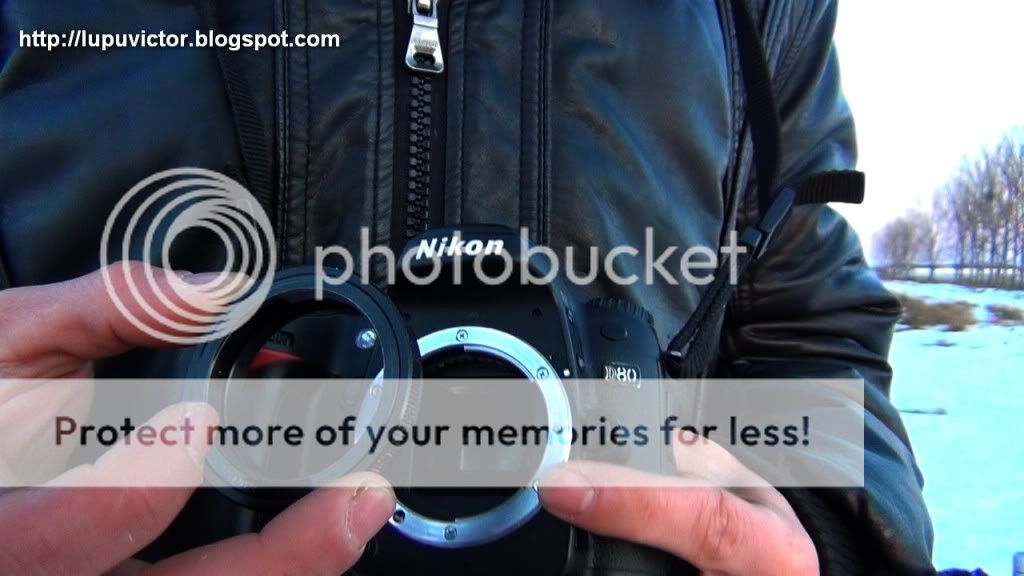
Turn off the camera. Remove the objective lens, holding the release button down while turning the  objective lens clockwise.

Attach the T-ring for Nikon to the mount of the camera by screwing it counterclockwise until it clicks. It is important to buy the right T-ring.
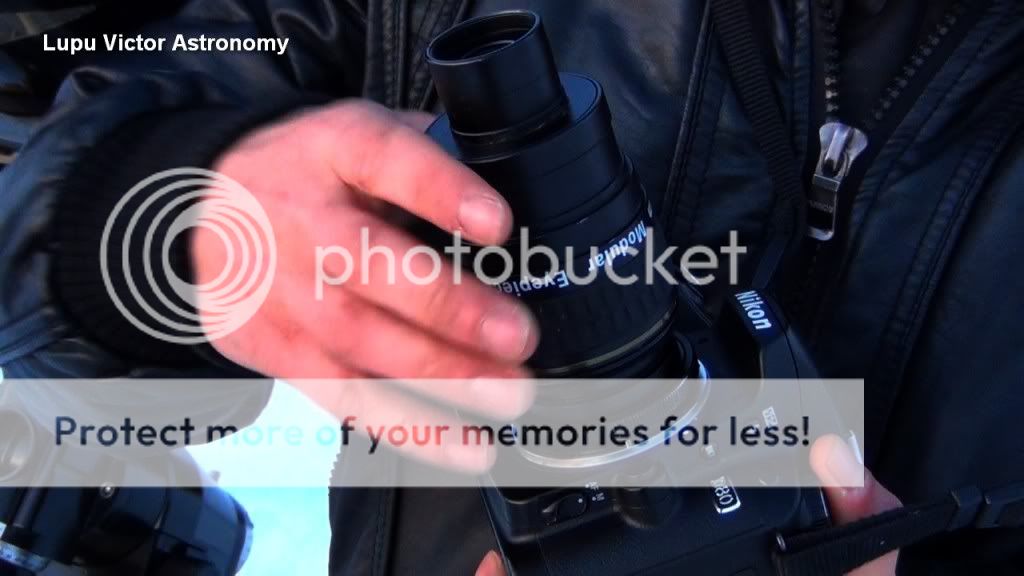
After that, screw on Nikon's T ring, HTA43/T-2 Hyperion ring.


Enter the two adapters in the telescope on wich will be installed the Hyperion eyepiece. The first is 2", and the second adapter in the photo is 1.25" which is screwed on the 2 ".

Now screw the Hyperion eyepiece on the camera in the Hyperyon's T2 ring.

Enter the camera in the focuser of the telescope, (in 1.25" adapter). Tighten the screws to prevent camera falling during use. Now you're ready to shoot through a telescope.

Wednesday, 10 August 2011

How to edit a picture

          It is a good question.I'm editing my pictures with FastStone software.I will give you an example of how to edit a Moon picture to look better than originally was.
         These images were processed in the program FastStone is a free photo editing program and can be found for download on File Hippo.
I use this simple program from the beginning and I have not switched to another because it helped me with all I need. After all everything you need in editing a picture is to make it look more beautiful and clear. There are more advanced editing programs, more complicated, but for quick editing and good results I will give details about how to use this program effectively .
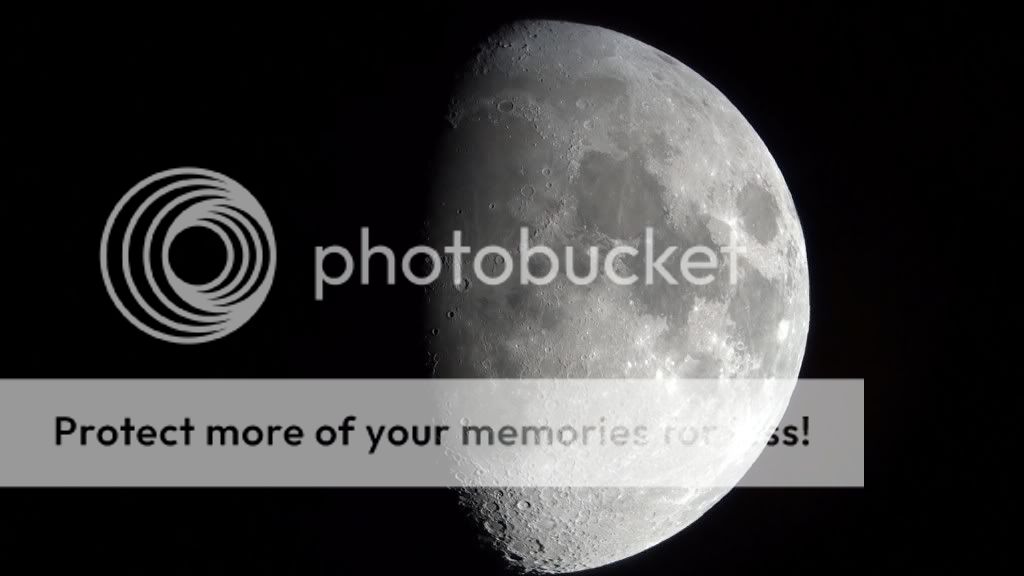
       The first picture above is the original capture.It is a Moon video capture.Video was made with HD Sony CX 105 camera, mounted at the telescope.Captures were made with Splash Player Pro, which captures in BMP (BMP-bitmap File format) .In this format images are saved in the best quality.This original picture is good, but it can be improved in some contrasts, levels, etc.
       In the second picture above, first I went to sharpness, which sharpens the edges of picture elements, making them clearer.The level of sharpness can be adjusted to each desire. Many adjustments should be used modestly, without being overloaded by some without purpose.
The third photo above has stronger colorsas long as allow the image,not in excess, that is to be not increase to extreme levels of color.
The fourth picture I played with contrasting levels of "Adjust Curves".
The fifth is the final picture in wich I decreased gamma in "Adjust Colors" option there are several settings such as brightness, contrast, color.
In this photo I applied "negative." I really like this option though not all pictures are good for it . But this is successful.
The effect of "sketch", can also be adjusted to make the picture as you want in intensity.This effect is as a drawing in pencil.
Also in FastStone has the effect "bump map" which I like very much, because the picture gives the impression that  the forms came out in relief. More artistic Moon images in FastStone you can see here on Moon Art.
Other important effects that we've not exemplified are cropping where you can cut a picture.If a picture is cropped , it becomes smaller in size automatically, but if I change the resolution after cropping,it becomes larger, and it is ok.

Photographer: Victor Lupu
Optics: Celestron C8-Newtonian telescope, plossl 20mm, 2x Barlow
Mount: CG5 (EQ5)
Device: Sony CX105
Filter: No
Date: 12/05/2011
Location: Baia Mare, Romania
Processing: video capture, FastStone Image Viewer

Sunday, 30 January 2011

Working with 3Dfication-3D Moon


   This video is made in 3Dfication program and post edited in Sony Vegas for making those rays.This program is unique. I have not seen to be used even if is making  very interesting things and I do not know if you know it.
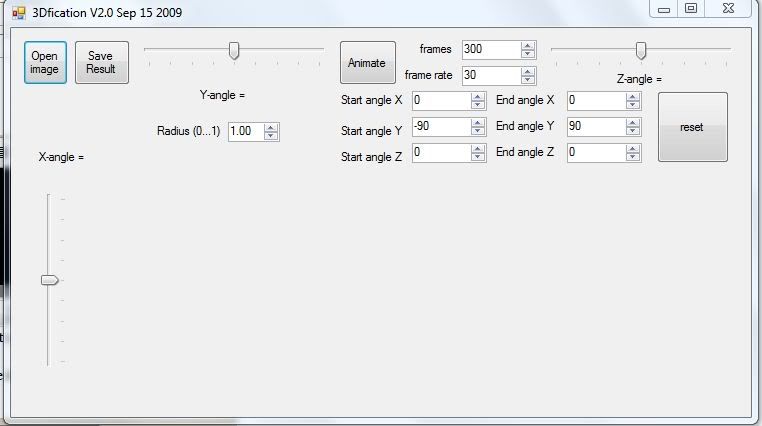
  Working with 3Dfication is easy.Insert a photo of the full moon that you made it through the telescope, and with some settings will look 3d.The result is a video file of the moon rotating.
First thing:open an image from your PC.In the image,the Moon must be in center.You will figure out how to do it because is very simple to use it.When you made all settings click on animate.After that you will name your file and where to save the avi file.Then a little window will appear for you to choose wich codec the program will use for the video to be made.
For rendering video I choose ffdshow Video Codec.Do not choose uncompressed or a ten seconds video will may have 1 or even 2 Gigs.  
To see topographical relief style view video ,not with ray effects,click on the above Manu bar "3D Moon" of the blog,or here
If you are unable to download,I can give it to you through Y!Messenger.Just tell me in a comment.
HAVE FUN!

<For those who like the pictures of my articles, would be nice to pay attention on advertising that appear in the blog by a click, because it is the only way I could buy one day a better telescope.>

How to know the name of Moon craters

     To know what's crater photographed or filmed by your telescope, or maybe you're just curious how some craters are called, it's not hard to do these days.
     The Internet now gives us more information about almost anything we want to aflam.Nici not have to ask a friend or May to buy a book or magazine to know anything about a thing.
     Those who want to know about the craters on the Moon, their name and information about that crater, may enter a site, what is unique in this problem as far as I know, which is named THE MOON LUNAR MAP NAVIGATOR (click on title).

     It is quite important to have information if you write an article on a website, to give accurate data so that the reader will assimilate them properly.
     On the first page is a photograph of the visible part of the Moon from Earth, divided into sectors in the form of squares. Click on one of the squares.Then,  "surf" with your mouse on the Moon craters.It's not hard,and when you make connections in visual memory and find more craters will be more easy.After you have discovered the crater, just bring the mouse cursor over that craters,and names will pops up,with info of the crater's size, the method which I find very useful because you no longer need to search the net to know how photographs of the crater is called, which I It seems very hard to do.Maybe only by chance you find.

Snapshot of the site THE MOON LUNAR MAP NAVIGATOR                            

Friday, 7 January 2011

How do I maintain Newtonian telescope's-mirror methods and tips

  My Telescope is bought in 2008.During this time I made some mistakes in maintaining the mirror because I did not knew at that moment how to proceed, and for which I will enumerate some mistakes had to be careful.
 1.  First, the mirror of a Newtonian is not to be touched with any object, not even with cleaning sticks fot your ears, or other materials.Mirrors have a long life, as long as they are not touched or exposed to unnecessary abuse, such as buffers or cleaning solutions.

 2. Do not blow it on its surface, no matter how dusty it is.You can use a vacuum but take great care not to hit by mistake the surface of the mirror
 3.Thirdly, be careful when you take off the mirror from the tube, not to drop face down, being quite heavy.
 4. The telescope must be kept always with protective cover when not working with it.The cover prevents dust and it is preferable that the outlet for observations to be made in an area away from traffic with cars, or in a dusty environment such as in certain summer periods.
    There are plenty of sites with instructions for cleaning the mirror, the only thing I would add is to not do too this often - little dust has no impact on optical performance, but the scratches caused by careless handling can do this . modern mirrors takes many years to degrade. Often looks dirty, but you should not clean yhe mirror until there is a real impact in observation. This will not happen if you are a good observer.

 
All images are © Copyright 2010-2015 Lupu Victor. All rights reserved.Images may not be reproduced, published, or copied in any form without written permission of the author. Thank you for respecting the intellectual property rights. ASTROFOTOGRAFIA | Lupu Victor Astronomy - Contact - About
Design by Free WordPress Themes | Bloggerized by Lasantha - Premium Blogger Themes | Online Project management